Hello my loves!!!
Today I have something VERY special to show you.
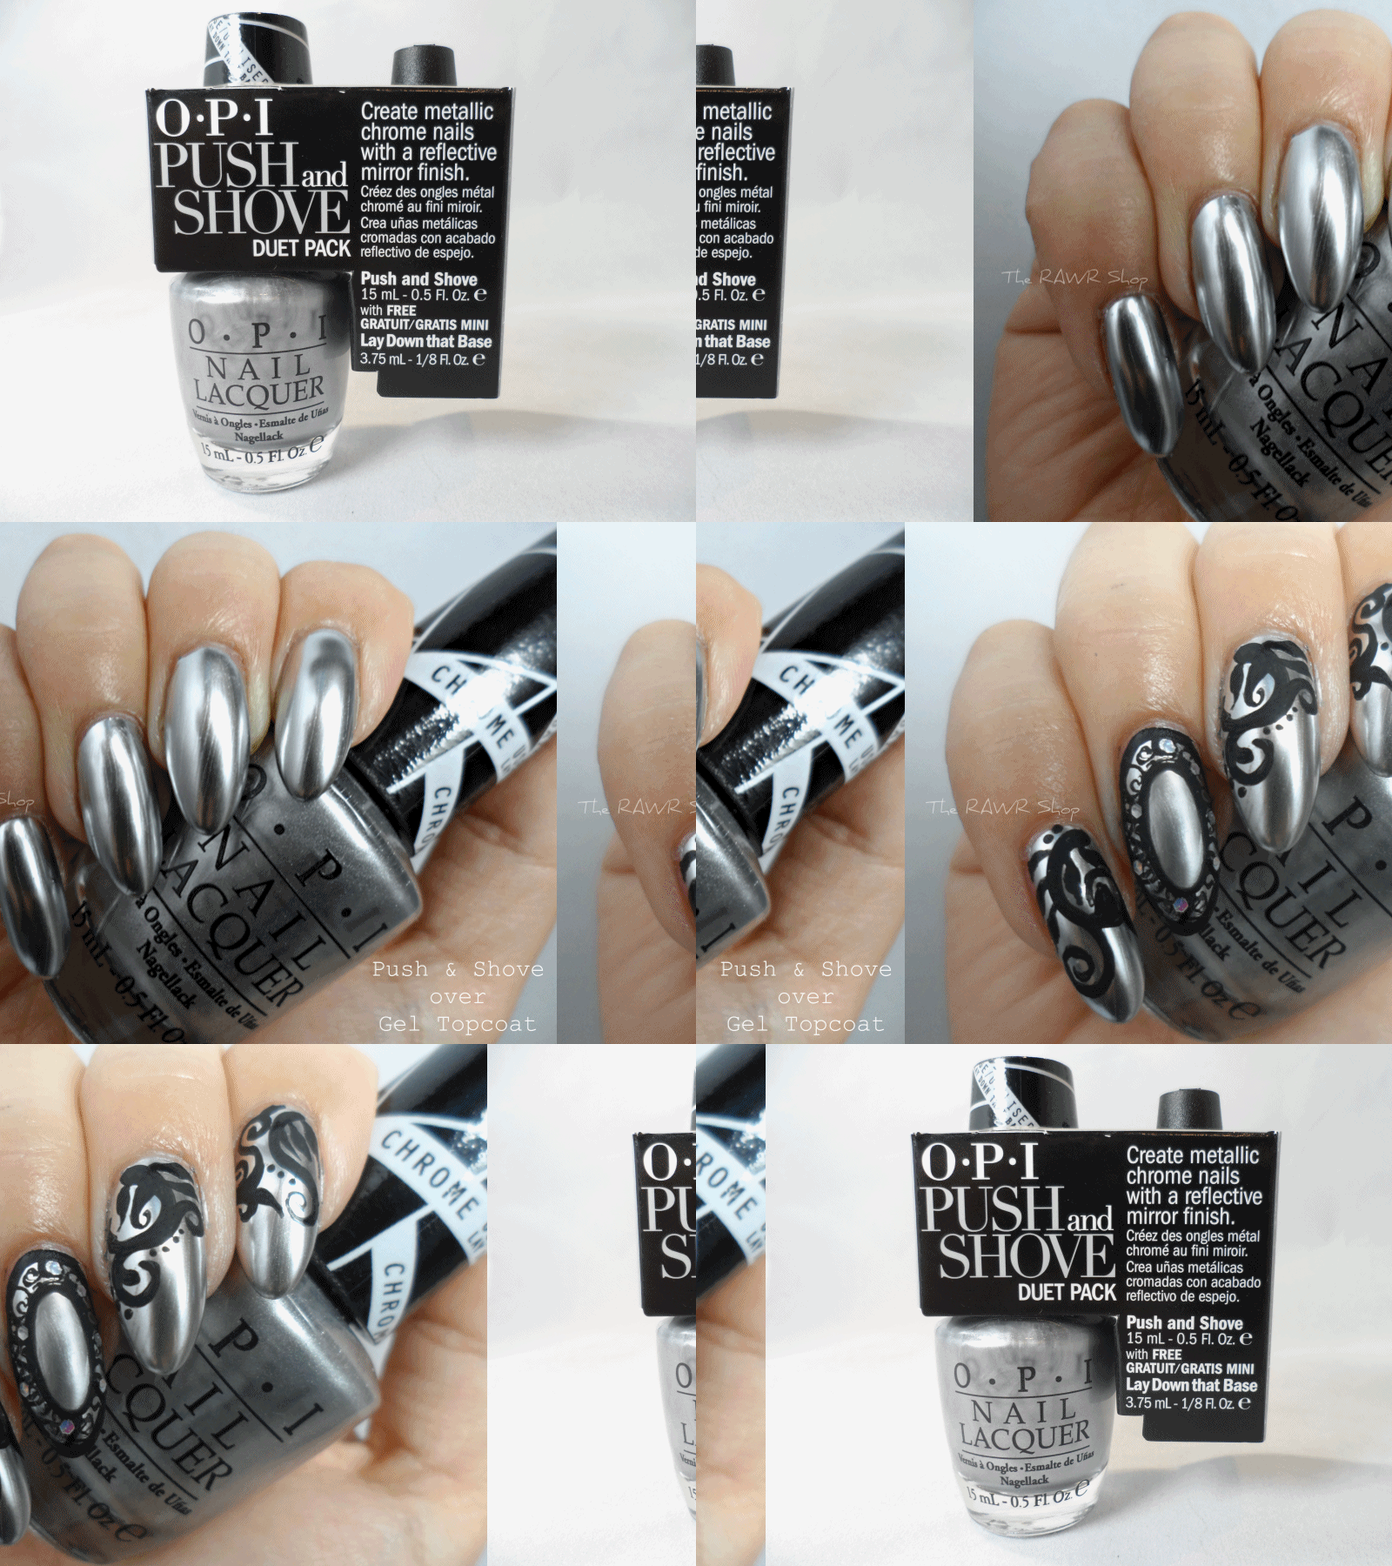
This is OPI's Push and Shove from the latest Gwen Stefani collection.
As the package states, it creates a metallic chrome effect with a mirror finish...I knew I HAD to have it when I saw the "mirror" part!
The package comes with a full size bottle as well as a free mini bottle of "Lay Down that Base"
It also says NOT to apply topcoat to this polish, and that it's suppose to only last one day.
WELL...this sparked ALL KINDS of questions in my head.
-WHY do you have to use this base?
- do I HAVE to use this base?
-WHAT happens when I run out of that mini bottle?
-WHY can't I apply topcoat?
-does it really only last one day?
WONDER NO MORE FRIENDS!
After some extensive research (by extensive I really mean a lot of apply, removal, reapply), I have put together a little presentation. This is like...a science project...why can't science be like this in school?!
First off, the best result I got was from after a layer of...
GEL TOP COAT AS BASE
Gel Top Coat| &S- 2 coats | Lay Down that Base- NONE
SUPER WIN!!!!
I LOVE THIS I LOVE THIS I LOVE THIS I LOVE THIS!
7350920324938293 THUMBS UP!
Look how chromey and mirrorey it looks under different lighting!!!!!
It looks even more reflective in person, and be prepared to be distracted AT ALL TIMES.
I can almost see my camera in some of these pictures...how awesome is that?!
I feel like a walking stainless steel fridge!!! WHOOT!!!!
I feel like a walking stainless steel fridge!!! WHOOT!!!!
Buffed w/o Base
P&S- 2 coats | Lay Down that Base- NONE
So after that I figured that this polish requires a SMOOTH surface, because you can pretty much see all the flaws and bumps with it on. Then I buffed my nails with a buffer to see if it would adhere to a matte surface.
As you can see. It's not pretty. It did NOT have a mirror finish...and you can clearly see all the buff marks.
I've actually have mixed results with this...the other time I applied it, it had sort of a "crackle" effect...needless to say, this is not the most ideal application. Therefore not recommended!
Buffed WITH Lay Down that Base
P&S- 2 coats | Lay Down that Base- 1 coat
I then removed the existing polish and applied Lay Down that Base to my buffed nails. It is crucial that you wait until this base coat is completely dry to move on to the next step!
Not bad right? Except it's still not what I would really consider a "mirror" effect. As you can STILL spot buff marks upon closer inspection.
With a different BASE COAT
P&S- 1 coat | Seche Clear Basecoat- 1 coat
Then you're probably all wondering...so what happens if I use a different base coat than the one provided?
NOPE, NOPE and hmm....let me think....
NOPE.
(I'm actually getting kind of dizzy from this gif...)
SECHE VITE as TOP COAT
P&S- 2 coats | Lay Down that Base- 1 coat | Seche Vite Top coat- 1 coat
Let's face it...the more someone says NOT to do something, the more you want to do it.
So here I go...and in fact, the package was right....it dulls the shine, and no longer has a mirror effect.
So sorry guys, this one's a doozy.
OKAY! So at this point I was pretty much ugly crying because Lay Down the Base is a REALLY SMALL BOTTLE! and I see myself wearing this A LOT, because SHINY!
Then it dawned on me....
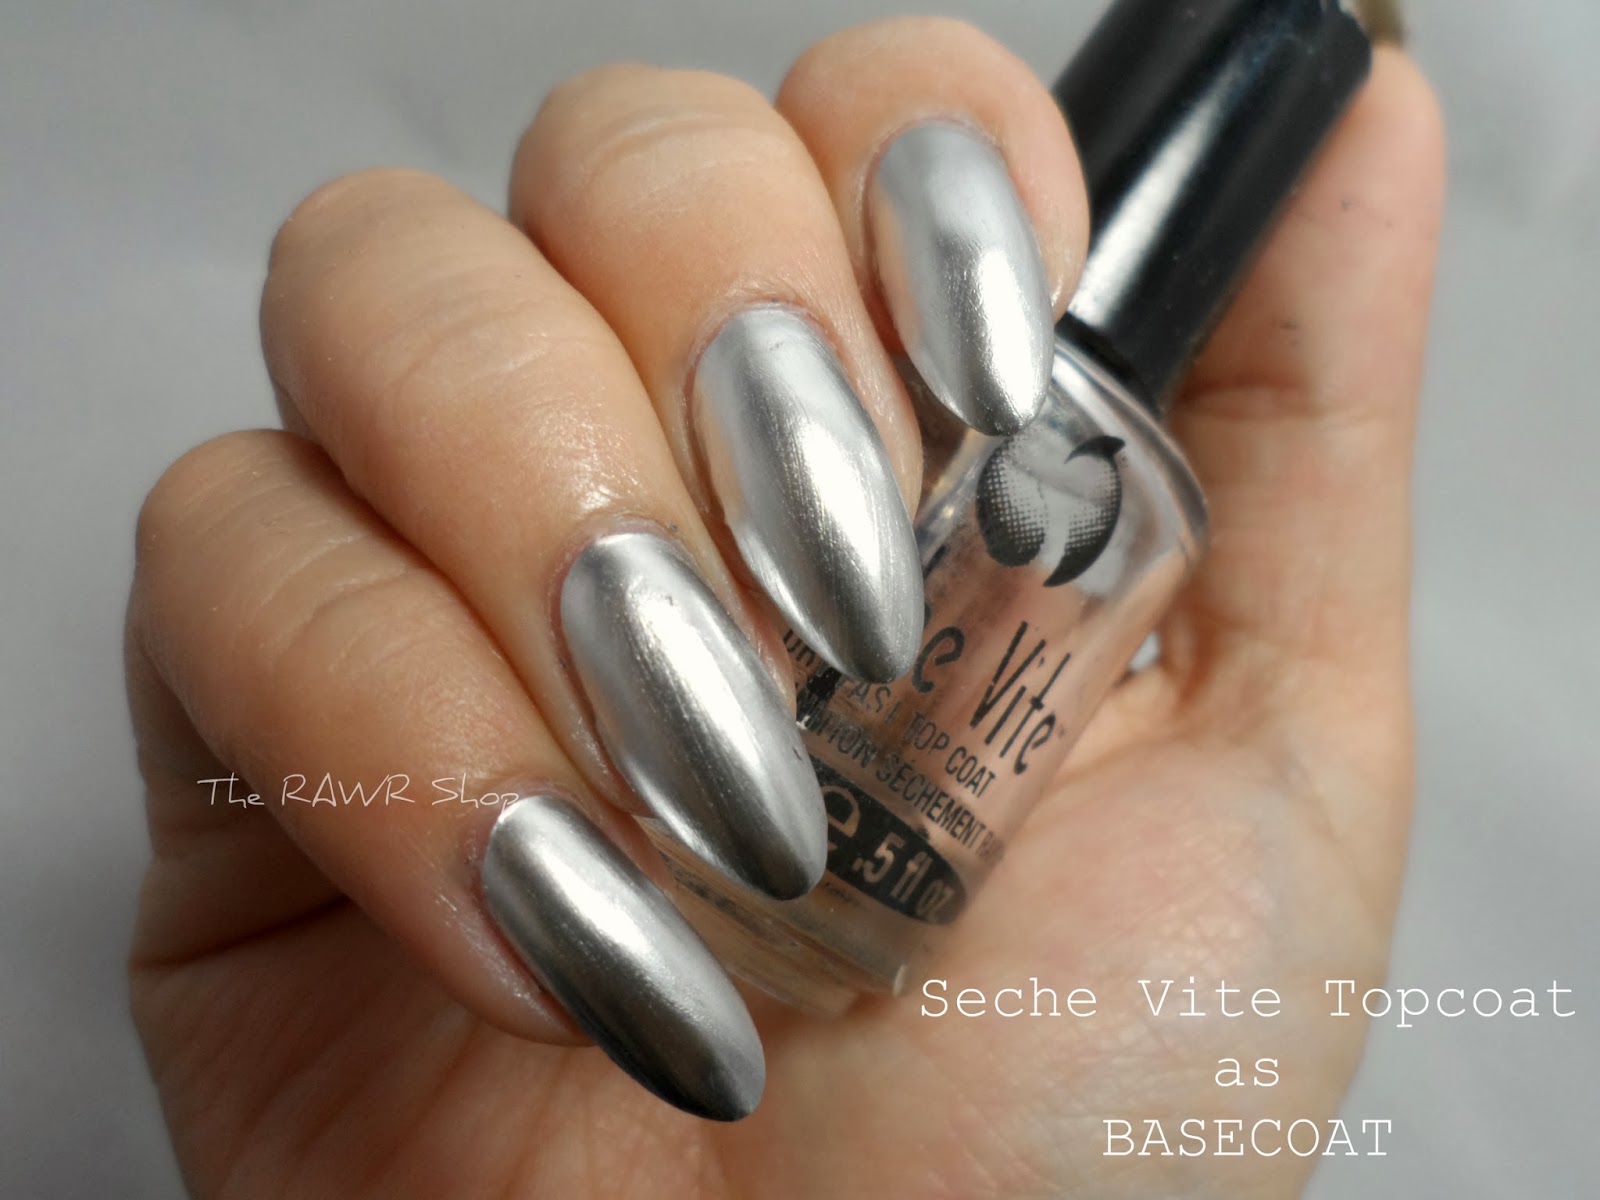
Seche Vite Top coat as BASE COAT
Seche Vite as base- 1 coat | P&S- 2 coats
Again...be sure to wait until the base coat is COMPLETELY dried to move on to P&S
AH-HA!!!!!!!!
This is almost the same shiny mani as the gel coat!!! The conclusion is that this polish requires an ULTRA glossy smooth base for the effect to take place. and so, VOILA! Problem solved. Use Seche Vite as base!
And of course, I couldn't just let you go without some nail art...
A few things....
- Make sure each layer is dried before moving on to the next
- This polish dries fast! So if you're doing nail art with it, work fast!
- This polish dries fast! So if you're doing nail art with it, work fast!
- Minimal tip wear is present after a whole day of typing
- Practice your brush strokes...as it shows in your final product
Well that's all for me today...if I left out anything you would like to know about this polish, feel free to leave a comment...or send me a love mail!
Hope you enjoyed what I put together for you today.
HAVE THE MOST WONDERFUL DAY, LOVERS!


OMG, that was a lot of experimentation! I think you saved us all some blood, sweat and tears!
ReplyDeletei love this post and that miss j gif slays me!
ReplyDeleteAs soon as I saw that gif, I knew I had to use it somewhere...HAHAHAHA <3
ReplyDeletehehehe ^_^ FOR SCIENCE!!!
ReplyDeleteIt was so worth it though, the finish is PERF!
What brand gel top coat did you use? It looks awesome!
ReplyDeletethats amazing! i knew with some playing around with bases and top coats someone wouldve found the perfect combo! i will use my Gelous gel top coat as the base and see how it goes! so excited!
ReplyDeleteHello darling, I used Orly's gel top coat for this! :)
ReplyDeleteYAY! GOOD LUCK!! Let me know how it turns out!! ^_^
ReplyDeleteYou're really making me want this...it's gorgeous! It's also crazy how it looks with a different base coat lol
ReplyDeleteSo thorough! *___* Like I said, your contributions to science will be recognized one day! FOR SCIENCE!
ReplyDeleteI think you should BUY IT!!!!!!!!!!!! Yea that base coat has got some magic potion in it or something HAHA
ReplyDeleteYAY SCIENCE!! This whole science thing is quite useful! I think i'll use it more often.... :P
ReplyDeleteam i understanding that NO topcoat is used on this polish?
ReplyDeleteHey there.
ReplyDeletethat's right. if you use topcoat ON TOP of this polish it dulls the shine. :)